Apologies the docker compose file shared above is for nextcloud and not for nextcloud AIO,
for nextcloud AIO though the process seems bit more involved as docker AIO expects 2 urls one for managing the docker containers and other for actual nextcloud instance
mkdir -p ~/docker/nc && cd ~/docker/nc
nano docker-compose.yaml
Paste the following content taken from official github repo (all-in-one/docker-compose.yml at main · nextcloud/all-in-one · GitHub)
make sure to update port 8080 under app service (if port is not locally available on the server).
version: "3.8"
volumes:
nextcloud_aio_mastercontainer:
name: nextcloud_aio_mastercontainer # This line is not allowed to be changed
services:
nextcloud:
image: nextcloud/all-in-one:latest # Must be changed to 'nextcloud/all-in-one:latest-arm64' when used with an arm64 CPU
restart: always
container_name: nextcloud-aio-mastercontainer # This line is not allowed to be changed
volumes:
- nextcloud_aio_mastercontainer:/mnt/docker-aio-config # This line is not allowed to be changed
- /var/run/docker.sock:/var/run/docker.sock:ro # May be changed on macOS, Windows or docker rootless. See the applicable documentation. If adjusting, don't forget to also set 'DOCKER_SOCKET_PATH'!
ports:
- 8080:8000
environment: # Is needed when using any of the options below
- APACHE_PORT=11000 # Is needed when running behind a reverse proxy. See https://github.com/nextcloud/all-in-one/blob/main/reverse-proxy.md
# - APACHE_IP_BINDING=127.0.0.1 # Should be set when running behind a reverse proxy that is running on the same host. See https://github.com/nextcloud/all-in-one/blob/main/reverse-proxy.md
- COLLABORA_SECCOMP_DISABLED=false # Setting this to true allows to disable Collabora's Seccomp feature. See https://github.com/nextcloud/all-in-one#how-to-disable-collaboras-seccomp-feature
# - DOCKER_SOCKET_PATH=/var/run/docker.sock # Needs to be specified if the docker socket on the host is not located in the default '/var/run/docker.sock'. Otherwise mastercontainer updates will fail. For macos it needs to be '/var/run/docker.sock'
# - DISABLE_BACKUP_SECTION=false # Setting this to true allows to hide the backup section in the AIO interface.
- NEXTCLOUD_DATADIR=/root/docker/nc/ncdata # Allows to set the host directory for Nextcloud's datadir. See https://github.com/nextcloud/all-in-one#how-to-change-the-default-location-of-nextclouds-datadir
# - NEXTCLOUD_MOUNT=/mnt/ # Allows the Nextcloud container to access the chosen directory on the host. See https://github.com/nextcloud/all-in-one#how-to-allow-the-nextcloud-container-to-access-directories-on-the-host
# - NEXTCLOUD_UPLOAD_LIMIT=10G # Can be adjusted if you need more. See https://github.com/nextcloud/all-in-one#how-to-adjust-the-upload-limit-for-nextcloud
# - NEXTCLOUD_MAX_TIME=3600 # Can be adjusted if you need more. See https://github.com/nextcloud/all-in-one#how-to-adjust-the-max-execution-time-for-nextcloud
# - NEXTCLOUD_MEMORY_LIMIT=512M # Can be adjusted if you need more. See https://github.com/nextcloud/all-in-one#how-to-adjust-the-php-memory-limit-for-nextcloud
# - NEXTCLOUD_TRUSTED_CACERTS_DIR=/path/to/my/cacerts # CA certificates in this directory will be trusted by the OS of the nexcloud container (Useful e.g. for LDAPS) See See https://github.com/nextcloud/all-in-one#how-to-trust-user-defiend-certification-authorities-ca
# - NEXTCLOUD_STARTUP_APPS=deck twofactor_totp tasks calendar contacts # Allows to modify the Nextcloud apps that are installed on starting AIO the first time. See https://github.com/nextcloud/all-in-one#how-to-change-the-nextcloud-apps-that-are-installed-on-the-first-startup
# - NEXTCLOUD_ADDITIONAL_APKS=imagemagick # This allows to add additional packages to the Nextcloud container permanently. Default is imagemagick but can be overwritten by modifying this value. See https://github.com/nextcloud/all-in-one#how-to-add-os-packages-permanently-to-the-nextcloud-container
# - NEXTCLOUD_ADDITIONAL_PHP_EXTENSIONS=imagick # This allows to add additional php extensions to the Nextcloud container permanently. Default is imagick but can be overwritten by modifying this value. See https://github.com/nextcloud/all-in-one#how-to-add-php-extensions-permanently-to-the-nextcloud-container
# - NEXTCLOUD_ENABLE_DRI_DEVICE=true # This allows to enable the /dev/dri device in the Nextcloud container which is needed for hardware-transcoding. See https://github.com/nextcloud/all-in-one#how-to-enable-hardware-transcoding-for-nextcloud
# - TALK_PORT=3478 # This allows to adjust the port that the talk container is using.
Run docker-compose up to start the nextcloud container services
cd ~/docker/nc && docker-compose up -d
Next create new virtualhost in virtualmin
e.g nc-admin.example.com
After creating virtual host go to it’s Server Configuration > Website Options > and select yes on Redirect all requests to SSL site?
Next go to it’s Service > Configure SSL Website > Edit Directives and paste the below config
ProxyPass / http://127.0.0.1:8080/ nocanon
ProxyPassReverse / http://127.0.0.1:8080/
RequestHeader set X-Forwarded-Proto "https"
RequestHeader set X-Forwarded-Port "443"
RewriteEngine on
RewriteCond %{HTTP:Upgrade} websocket [NC]
RewriteCond %{HTTP:Connection} upgrade [NC]
RewriteRule ^/?(.*) "ws://127.0.0.1:8080/$1" [P,L]
and click “Save and Close”.
Next create another virtualhost in virtualmin
e.g nc.example.com
After creating virtual host go to it’s Server Configuration > Website Options > and select yes on Redirect all requests to SSL site?
Next go to it’s Service > Configure SSL Website > Edit Directives and paste the below config
ProxyPass / http://127.0.0.1:11000/ nocanon
ProxyPassReverse / http://127.0.0.1:11000/
RequestHeader set X-Forwarded-Proto "https"
RequestHeader set X-Forwarded-Port "443"
RewriteEngine on
RewriteCond %{HTTP:Upgrade} websocket [NC]
RewriteCond %{HTTP:Connection} upgrade [NC]
RewriteRule ^/?(.*) "ws://127.0.0.1:11000/$1" [P,L]
and click “Save and Close”.
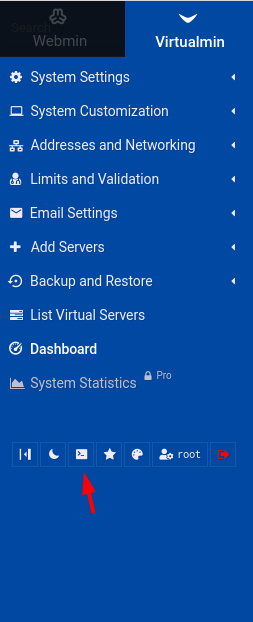
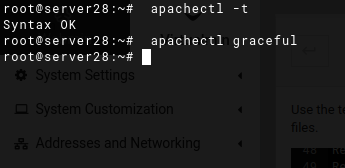
Next open terminal for side bar or ssh session
and run these commands to reflect proxypass changes done in virtualhost
apachectl -t
if above command returns OK then only reload the apache although apache will not reload in case there are issues in your config but still.
apachectl graceful
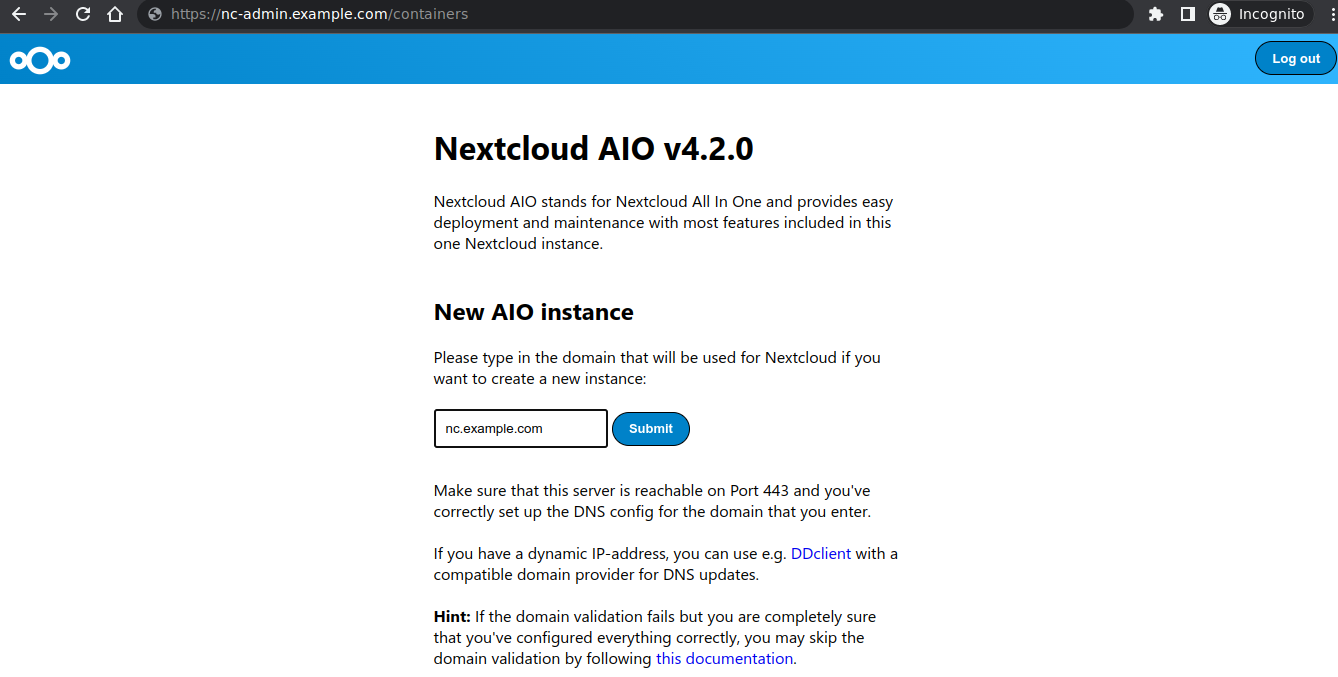
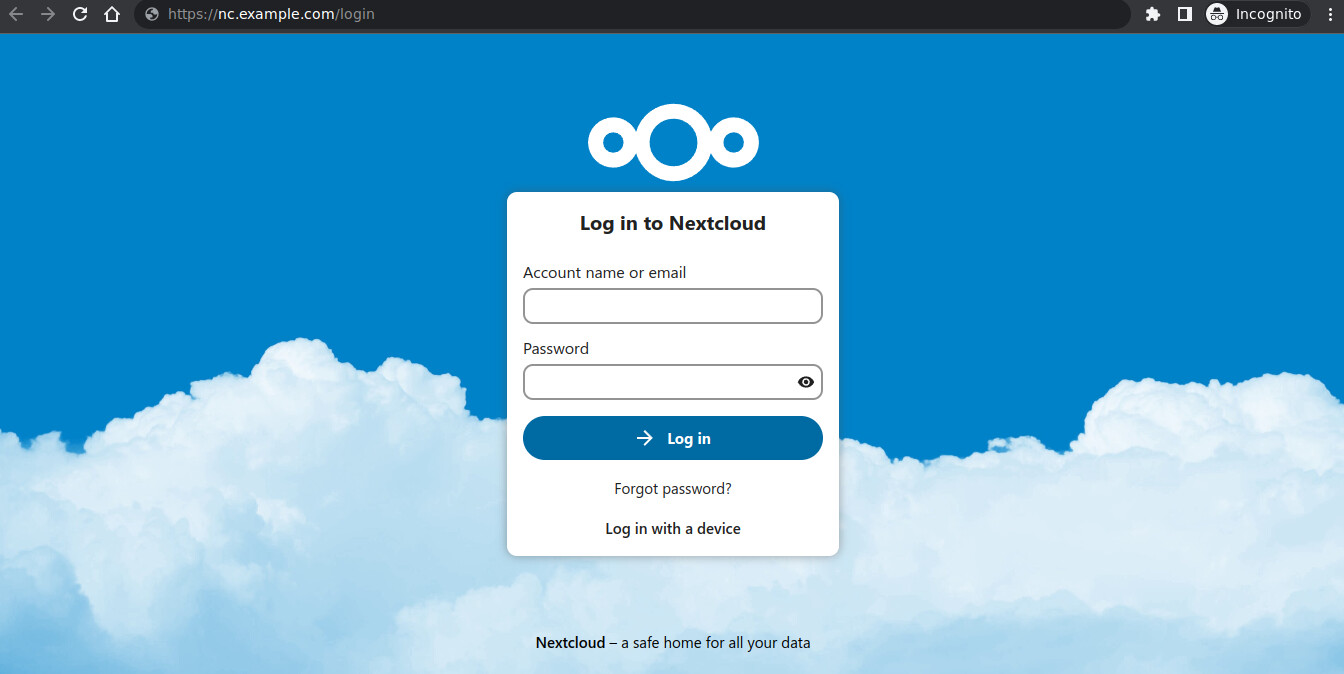
Next you have to visit your nexcloud aio management panel for deploying actual nextcloud services (you might need to open ports for nextcloud talk as well) at https://nc-admin.example.com
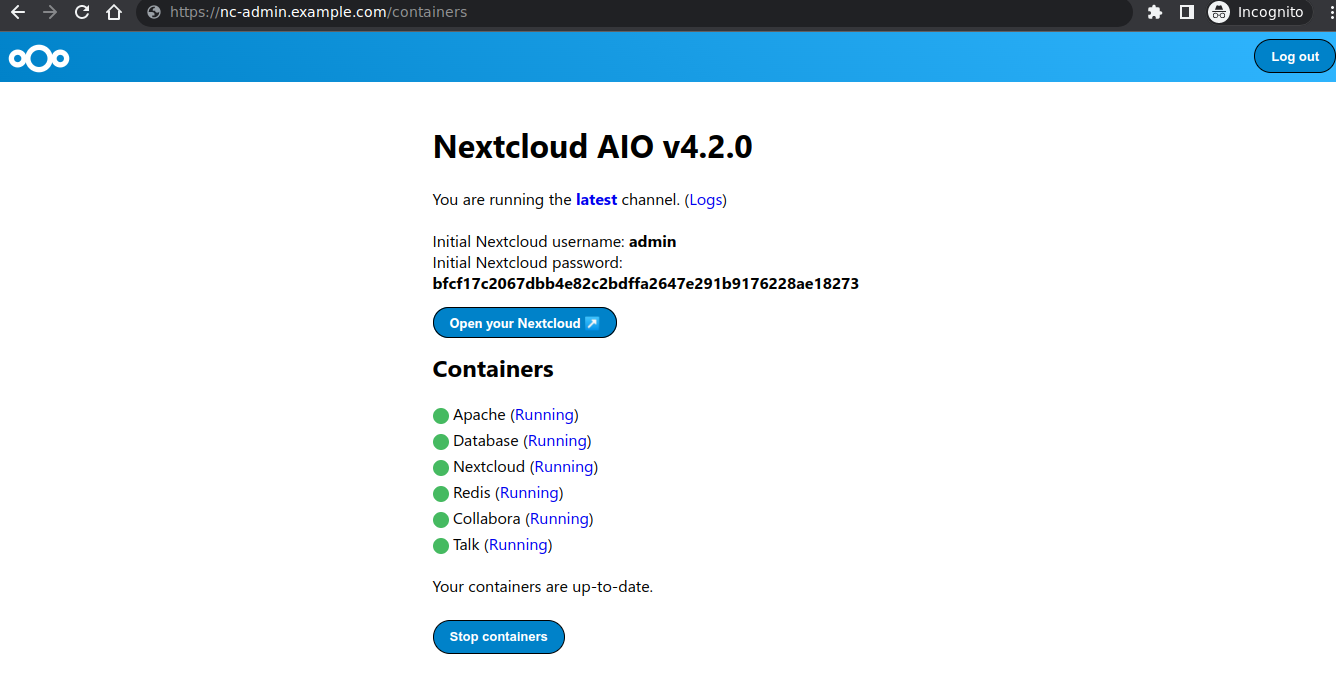
It’ll ask for nextcloud url provide, nc.example.com here (don’t forget to replace example.com to your actual domain) and select required containers on next page
Wait for them to install for me took around 10 minutes.
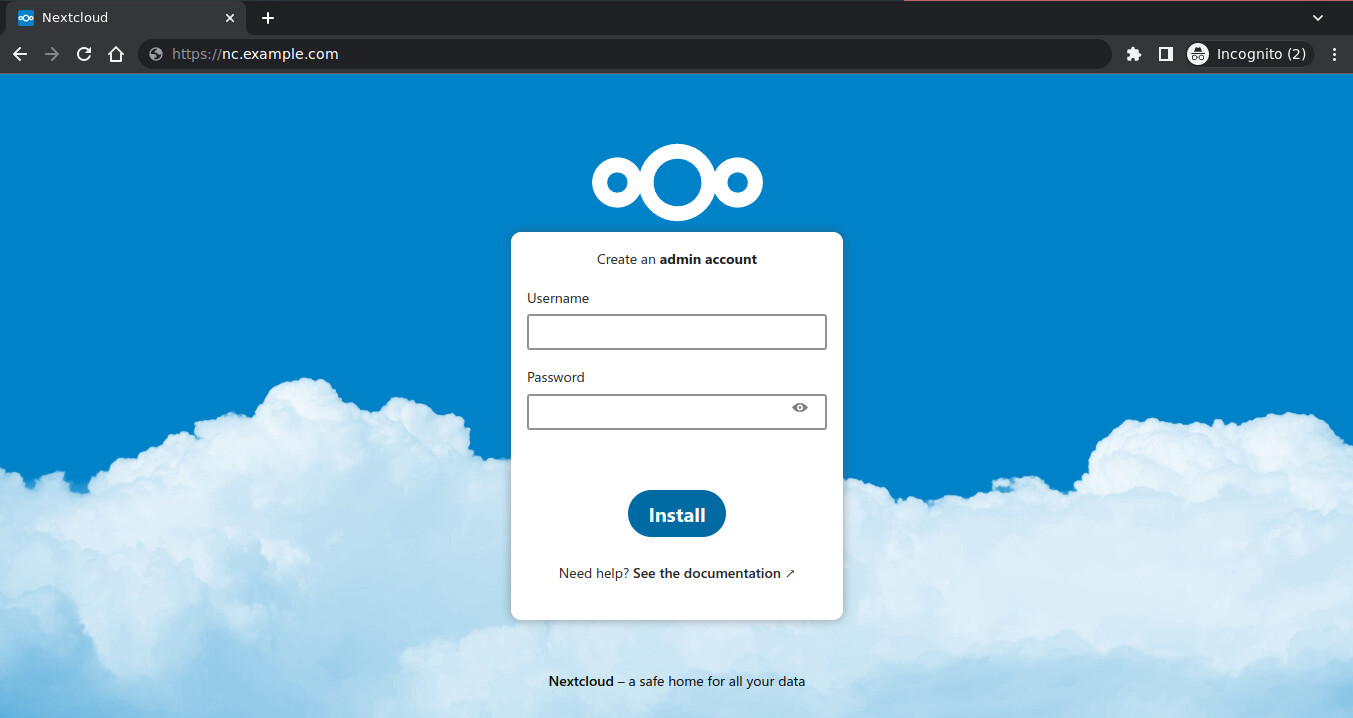
Once their status goes to running you can visit your newly created nextcloud instance on https://nc.example.com or via clicking “Open your Nextcloud” button.